How to Use a Kenzan: A Beginner’s Guide to Pin Frog Flower Arranging
Share
Whether you’re drawn to the meditative art of ikebana or simply want your flower arrangements to look more natural and sculptural, the kenzan—also known as a pin frog or pin holder—is a game-changing tool. This small but mighty piece of floral hardware has been used for over a century in Japanese flower arranging, and it’s making a big comeback in modern floral design for its eco-friendly, foam-free approach.
If you’ve never used one before, don’t worry! This guide will walk you through the basics of using a kenzan, with helpful tips to make your arrangements shine.
What Is a Kenzan?
A kenzan (剣山) is a metal base filled with sharp brass pins that hold flower stems in place. It’s typically used at the bottom of a bowl, vase, or shallow container. The pins allow for secure placement of stems at any angle, giving you creative control and stability—without floral foam or plastic cages.
Step-by-Step: How to Use a Kenzan
1. Choose the Right Kenzan
- Size matters: Use a small kenzan for delicate or minimalist arrangements and a large one for fuller, heavy-stemmed designs.
- Shape it up: Round, square, or rectangular—pick a shape that complements your container and design vision.
- Consider a pin cup kenzan if you need extra support from the container’s walls.
2. Secure It in the Container
-
Make sure your container is clean and dry
- Place floral putty along the outside edge of the bottom of your kenzan
- Gently press the kenzan into the bottom of the vase.
3. Add a Bit of Water
- Add enough water to cover your kenzan so the flowers can drink while you're designing.
- You can fill your container with water after you're done or, for minimum spillage, after the arrangement has been placed in its showcase spot.
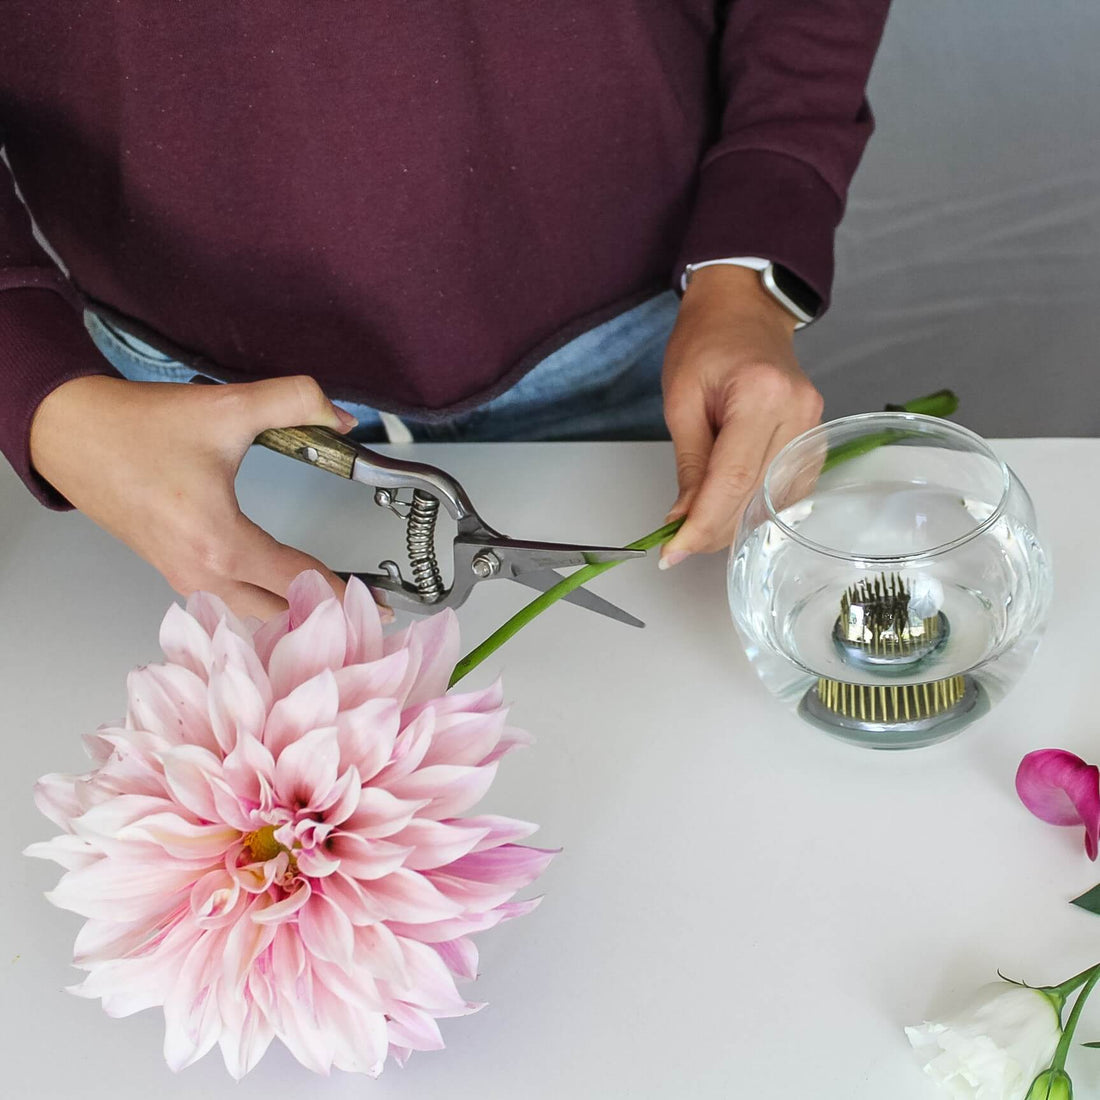
4. Prep Your Stems
- Prep each stem before placing it into your design. Don't prep them all at the same time; you want your flowers to have a fresh cut right before they are placed in the arrangement.
- Cut stems at a sharp angle for easier insertion and better water uptake.
- Remove any leaves that would sit below the waterline to prevent bacterial growth.
5. Insert Stems into the Pins
- Push stems onto the pins, applying firm but gentle pressure. For woodier branches, you may have to use more pressure, or you can make four small cuts up the stem to make the insertion easier.
- Arrange from largest to smallest or back to front depending on your design.
- Use angled placement to create movement, height variation, and negative space.
5. Top Off with Water
- Carefully pour water into the container until the stems are submerged by about 1–2 inches.
- Make sure the kenzan is fully covered, especially if it’s made of brass or stainless steel, to avoid mineral stains or corrosion over time.
Tips for Success
- Don’t overcrowd: Leave some breathing room between stems to emphasize form and flow.
- Work with odd numbers: Ikebana often favors asymmetry and groupings of 3 or 5 for visual interest.
- Experiment with texture: Mix soft blooms with woody branches, grasses, or seed pods.
- Rinse your kenzan regularly to prevent buildup and keep the pins sharp.
Final Thoughts
Using a kenzan might feel different at first, but once you get the hang of it, you’ll wonder how you ever arranged flowers without one. It’s a beautiful blend of tradition and modern design sensibility—a tool that invites you to slow down, experiment, and truly see each stem.
So grab your favorite blooms, pour a cup of tea, and give this timeless technique a try. Happy arranging!
