
How to Use a Kenzan
Cut, Stick, Repeat
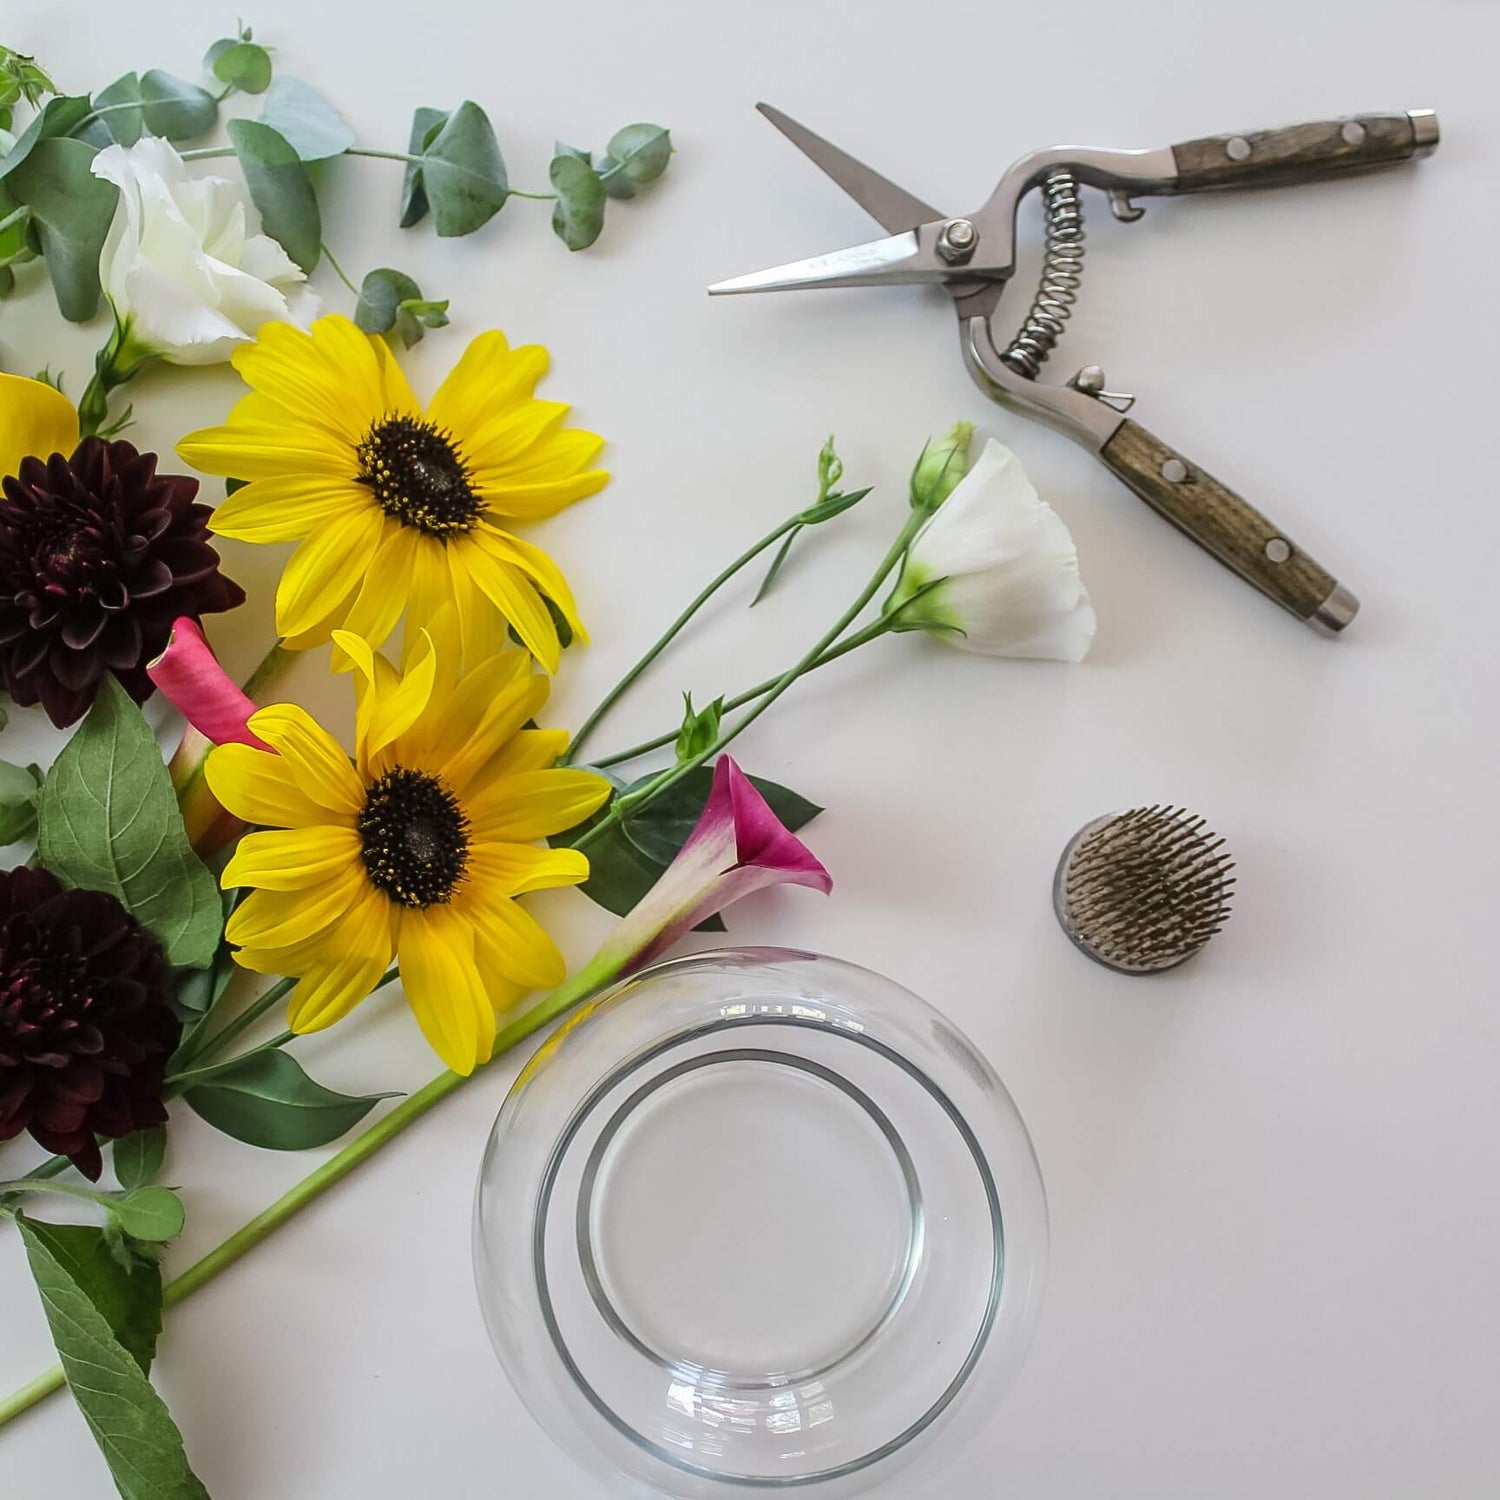
1. Choose a vase
Get started with your design by choosing a vase! You can use any vase you'd like, as long as the mouth (the opening at the top) is larger than the size of your pin frog. The pin holder doesn't need to fit the vase perfectly, it just needs to be big enough to hold the flowers that you have!
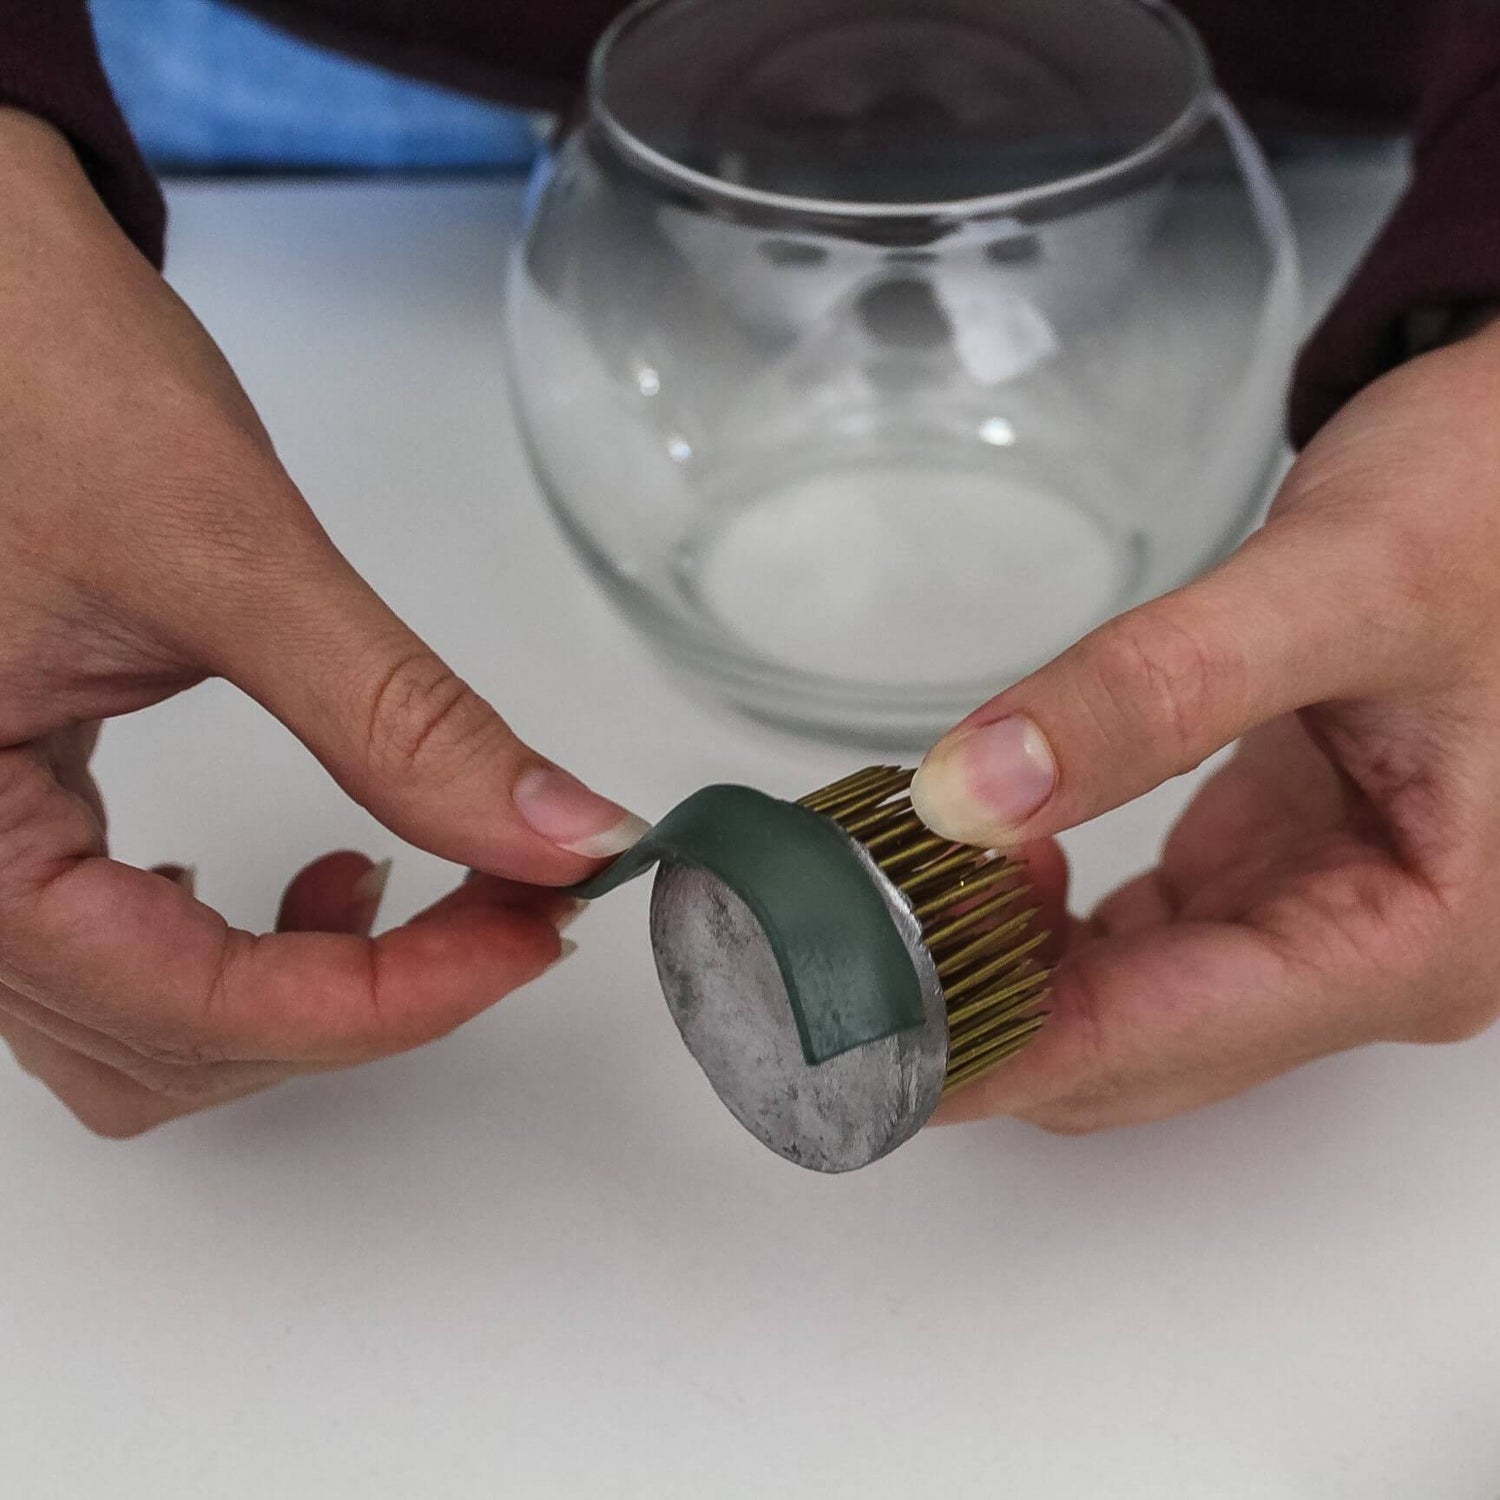
2. Prepare your kenzan
Begin your design by placing floral putty along the outside edge of the bottom of your flower frog. While floral putty isn't required, it will keep the flower frog in place while you design and when the arrangement is moved.
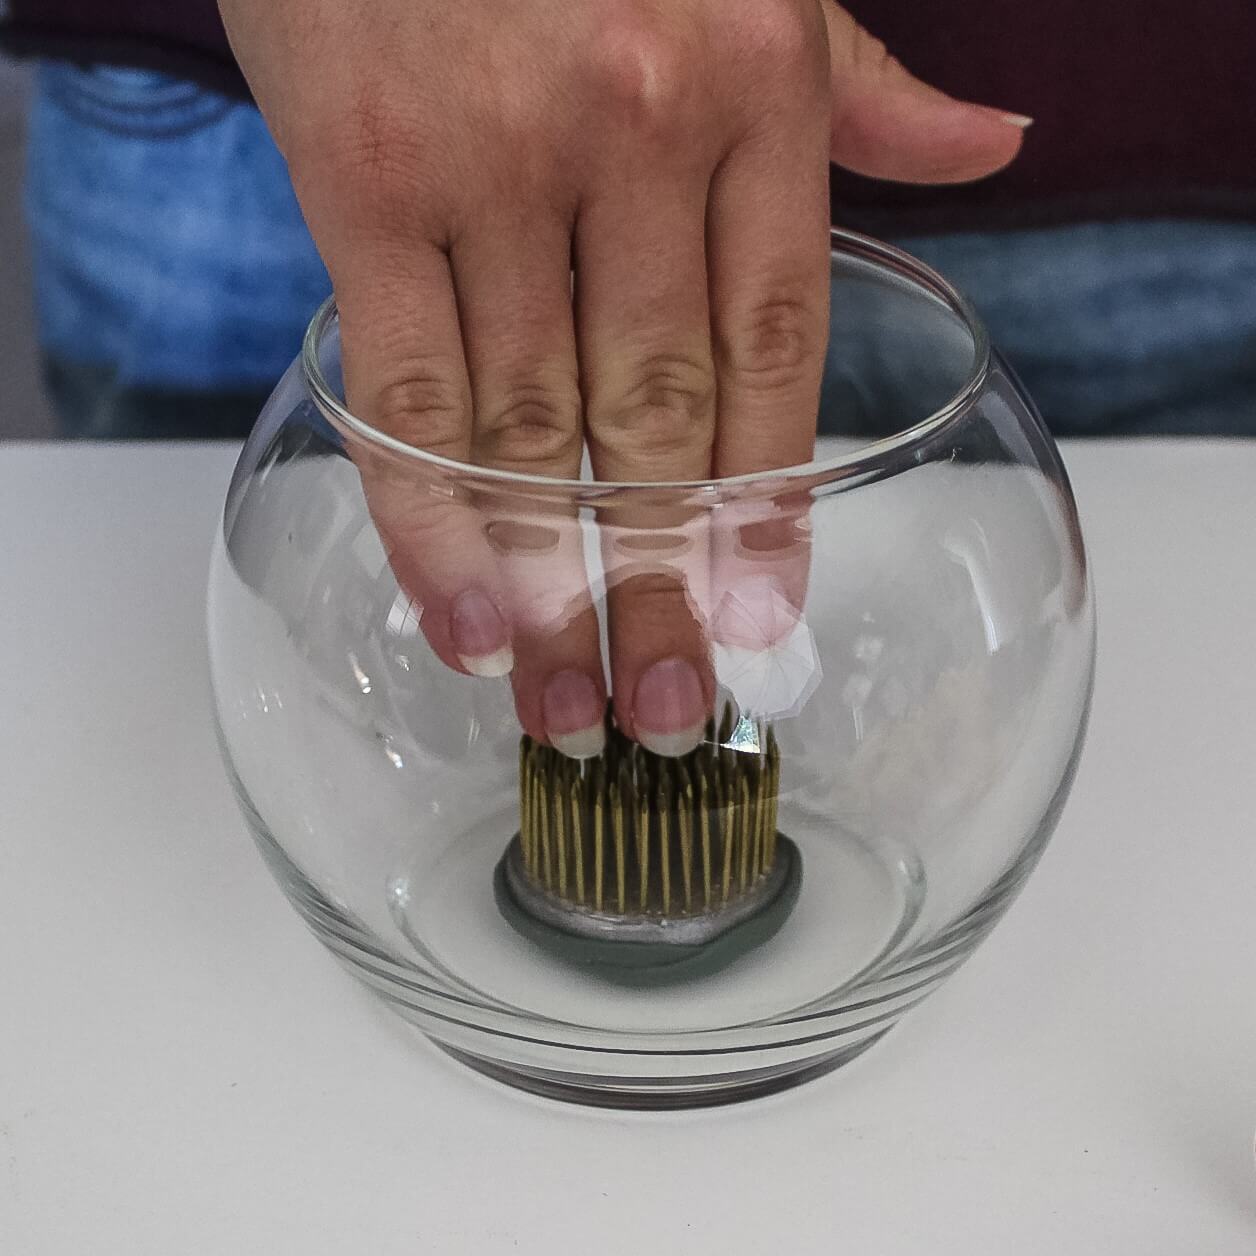
3. Place your kenzan and add water
Gently press your flower frog into a clean and dry vase. If there's any moisture in the vase, the floral putty will not stick. Add water to your vase. While you want the complete design to be completely filled with water, you'll only need to cover the flower frog while you're designing and top off the water when your arrangement is complete.

5. Make magic
Start your design with flowers that have thicker stems. Give each stem a sharp, angled cut and insert it into the frog piercing the stem onto the nails. As you build your design, it's easier to weave in smaller stems using the thicker stems to support your placement.
Protip: once your design has lived its best life, remove the flower frog from the vase immediately. Over time, the putty will harden and be difficult to remove.
Fore more tips, read our Mindful Mechanics blog!
View all-

The Best Way to Design with Dried Flowers
Dried flowers have a quiet kind of magic. They don’t shout for attention with fragrance or fresh color. They sit patiently. Gracefully. Holding shape, texture, and story long after the...
The Best Way to Design with Dried Flowers
Dried flowers have a quiet kind of magic. They don’t shout for attention with fragrance or fresh color. They sit patiently. Gracefully. Holding shape, texture, and story long after the...
-

How to Clean Your Kenzan Flower Frogs
Keeping your kenzan (a.k.a. flower frog) in great shape is the secret to long-lasting, sustainable design. With just a little TLC, your frogs will stay sturdy, clean, and ready for...
How to Clean Your Kenzan Flower Frogs
Keeping your kenzan (a.k.a. flower frog) in great shape is the secret to long-lasting, sustainable design. With just a little TLC, your frogs will stay sturdy, clean, and ready for...
-

The Art of Ikebana: A Journey Through Japan’s T...
Ikebana, often described as the Japanese art of flower arranging, is much more than simply placing flowers in a vase. Rooted in centuries of tradition, ikebana is a meditative practice...
The Art of Ikebana: A Journey Through Japan’s T...
Ikebana, often described as the Japanese art of flower arranging, is much more than simply placing flowers in a vase. Rooted in centuries of tradition, ikebana is a meditative practice...


